Advanced Sensing - Object Detection Sample
Introduction
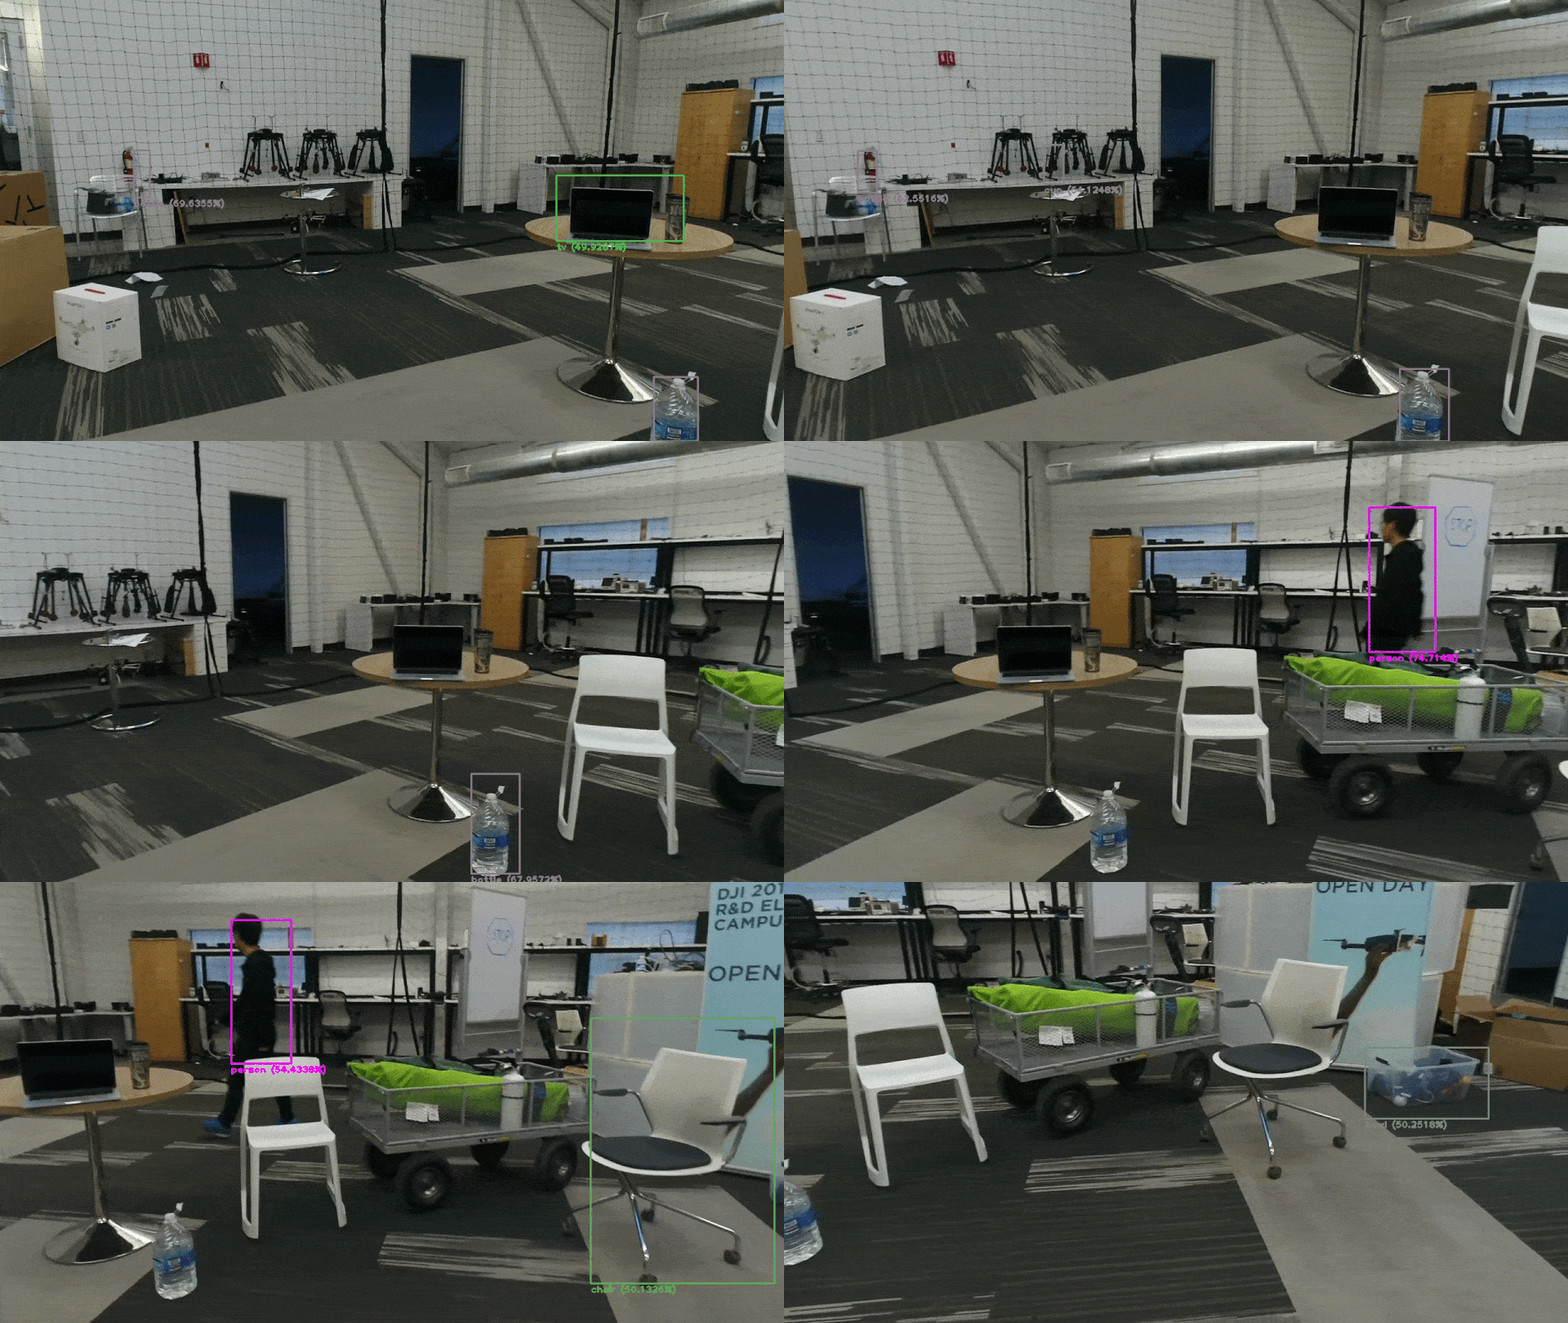
With the capability to access the stereo images and camera streams of M210 and reasonable onboard computing power, we can run convolutional neural network (CNN) based object detection algorithms. Here we provide two samples, the first one demonstratea how to run a very powerful real-time object detection package named YOLO V2 and one of its ROS wrappers darknet_ros in ROS environment. The second one run the same object detection algorithm on one of the stereo image and use the depth perception sample to infer object 3D information.
We have tested this setup on Ubuntu 16.04 and ROS kinect, on both a laptop computer with NVIDIA GTX 970M graphics card and the NVIDIA Jetson TX2 with the Orbitty Carrier board.
Sample 1 Object Detection in Camera Stream Using Yolo2 on ROS

1. Setup the Onboard SDK ROS environment
Follow the ROS Onboard Computer section of the sample-setup to build and install the onboard sdk core library to your system, and to download the onboard sdk ros package to your catkin workspace.
2. Download darknet and darknet-ROS package for target tracking
cd /path/to/catkin_ws/src |
During the build stage, it will download the tiny-yolo-voc.weights and the yolo-voc.weights. However, from our tests, we found that the tiny-yolo.weights works better. So please download it with the following command
wget http://pjreddie.com/media/files/tiny-yolo.weights -P /path/to/catkin_ws/src/darknet_ros/darknet_ros/yolo_network_config/weights |
Next, you'll need to edit some config files to tell darknet_ros to use the tiny-yolo.weights and use the image source from /dji_sdk/fpv_camera_images (or /dji_sdk/main_camera_images).
- In
darknet_ros/darknet_ros/launch/darknet_ros.launch, changeyolo_voc.yamltotiny_yolo.yaml - In
darknet_ros/darknet_ros/config/ros.yaml, change/camera/rgb/image_rawto/dji_sdk/fpv_camera_images(or/dji_sdk/main_camera_images) - In
darknet_ros/darknet_ros/config/tiny_yolo.yaml, change the threshold value from 0.3 to 0.6 to reduce some false positive
3. Start the dji_sdk node
Make sure you have run source /path/to/catkin_ws/devel/setup.bash, and have properly edit the entries in /path/to/catkin_ws/src/OnboardSDK-ROS/dji_sdk/launch/sdk.launch such as the app_id, enc_key and baud_rate. Then you can start the dji_sdk node with
roslaunch dji_sdk sdk.launch |
4. Start the camera stream using ROS service
In a separate terminal, run
rosservice call /dji_sdk/setup_camera_stream "{cameraType: 0, start: 1}" |
where cameraType 0 is for FPV and 1 is for main camera.
In the dji_sdk node terminal, you will initially see some error messages since it takes some time to decode the first image.
5. Start the object detection node
With all the modifications we made to darknet_ros in step 3, you can start it with
roslaunch darknet_ros darknet_ros.launch |
Now you should see bounding boxes around detected objects.
Sample 2 Object Depth Perception in Stereo Image
This sample is built on top of the stereo depth perception sample.
It subscribes to the front-facing stereo images published from dji_sdk node and to the object detection
information from darknet_ros node. It then rectifies the stereo images, computes the disparity map,
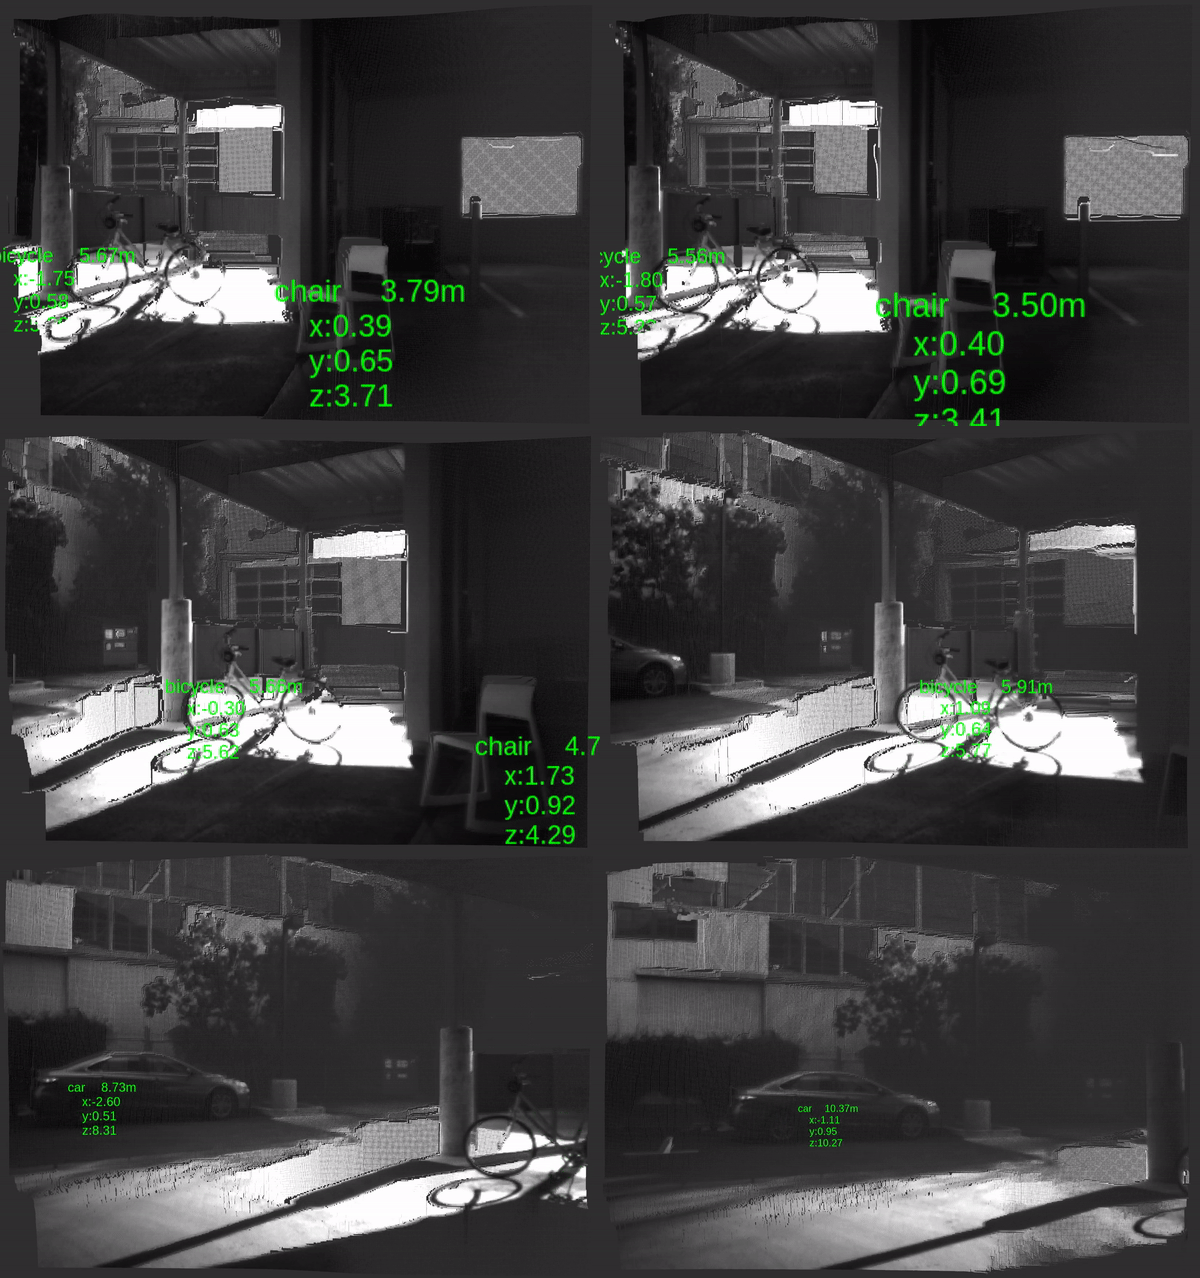
and unprojects the point cloud. In addition, it computes 3D information of the object detected on the image.
As shown below, the point cloud is visualized in Rviz with object information displayed on it.

1. Setup Onboard SDK and darknet in ROS
Please follow the first three steps of Sample 1 to setup DJI OSDK and darkent_ros.
2. Start the object detection node
Please edit the config files to tell darknet_ros to use use the image source from
/dji_sdk/stereo_vga_front_left_images.
With all the modifications we made to darknet_ros, you can start it with
roslaunch darknet_ros darknet_ros.launch |
3. Start the object depth perception node
This node will call the subscription service and prompt you for available commands.
rosrun dji_sdk_demo demo_stereo_object_depth_perception m210_stereo_param.yaml |
Once darknet_ros detects an object in the image, the object depth perception node
will publish rectified images, disparity map, point cloud, and object information using marker array.
Please use Rviz to visualize them.